Wait for an audio notification that the PHG1500 is ready
Once the PHG1500 has finished booting there will be three solid boot indicator lights at the bottom of the display
Solid red indicates that the internet connection has been established
Solid blue indicates that the boot configuration was downloaded successfully
Solid green indicates that a connection has been established with Health@Home Exchange
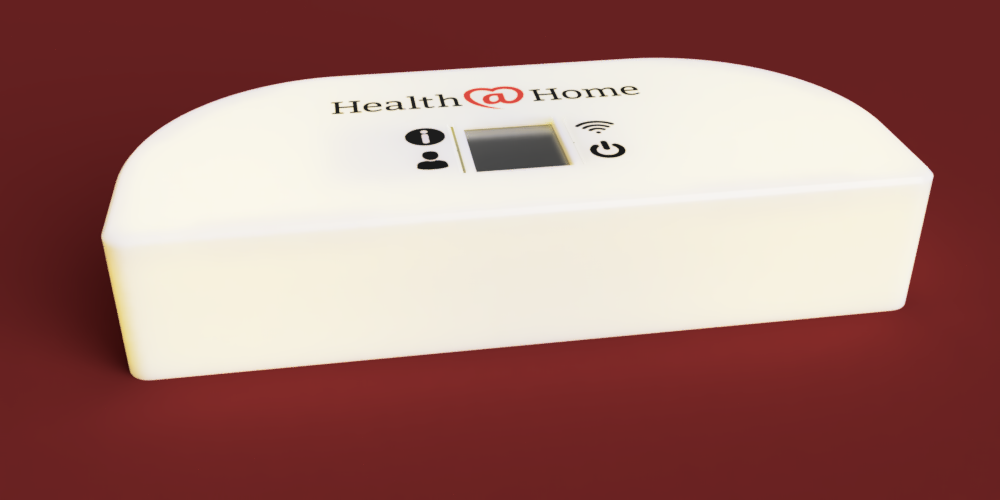
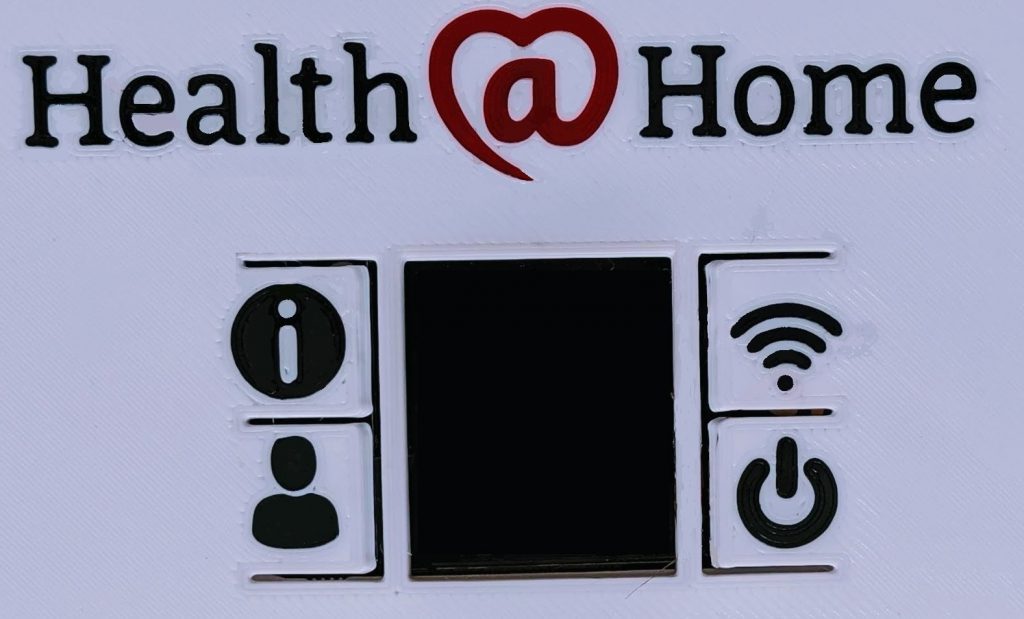
QuickButton Layout
Information Button (Top Left)– Cycles through information screens. The first press of the button make take a while to respond. WPS Button (Top Right) – Allows the PHG to connect to a WiFi network that uses WPS. User Button (Bottom Left) – This button currently does not produce the correct behavior. Intended to cycle through available patients to select a default user. Power Button (Bottom Right) – Tap to reboot. Hold to shutdown. This button will not power on the PHG500D.
Use the PHG Devices page in Exchange to search and pair with the sensor device. This step may be skipped if the sensor device has been added to the PHG’s auto-pair list.
Take a measurement once the PHG500D has successfully connected to the device
A check indicates the successful upload of sensor data to Health@Home Exchange.
A prohibition sign indicates that the PHG was unable to upload sensor data successfully